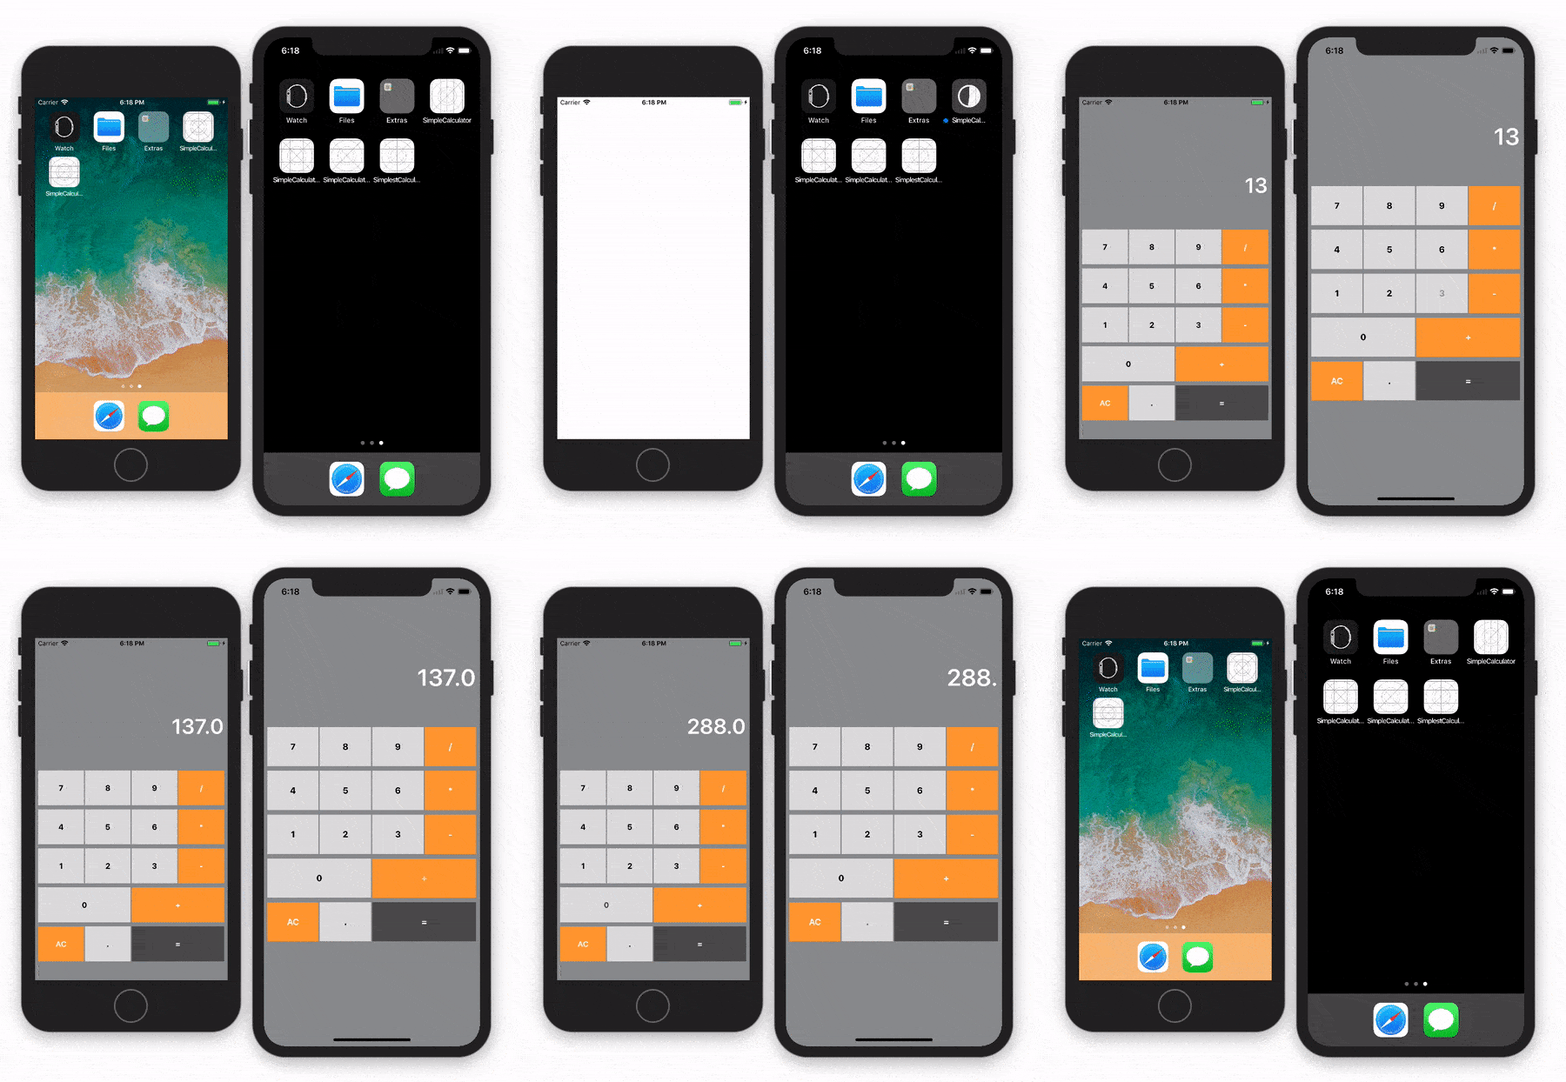
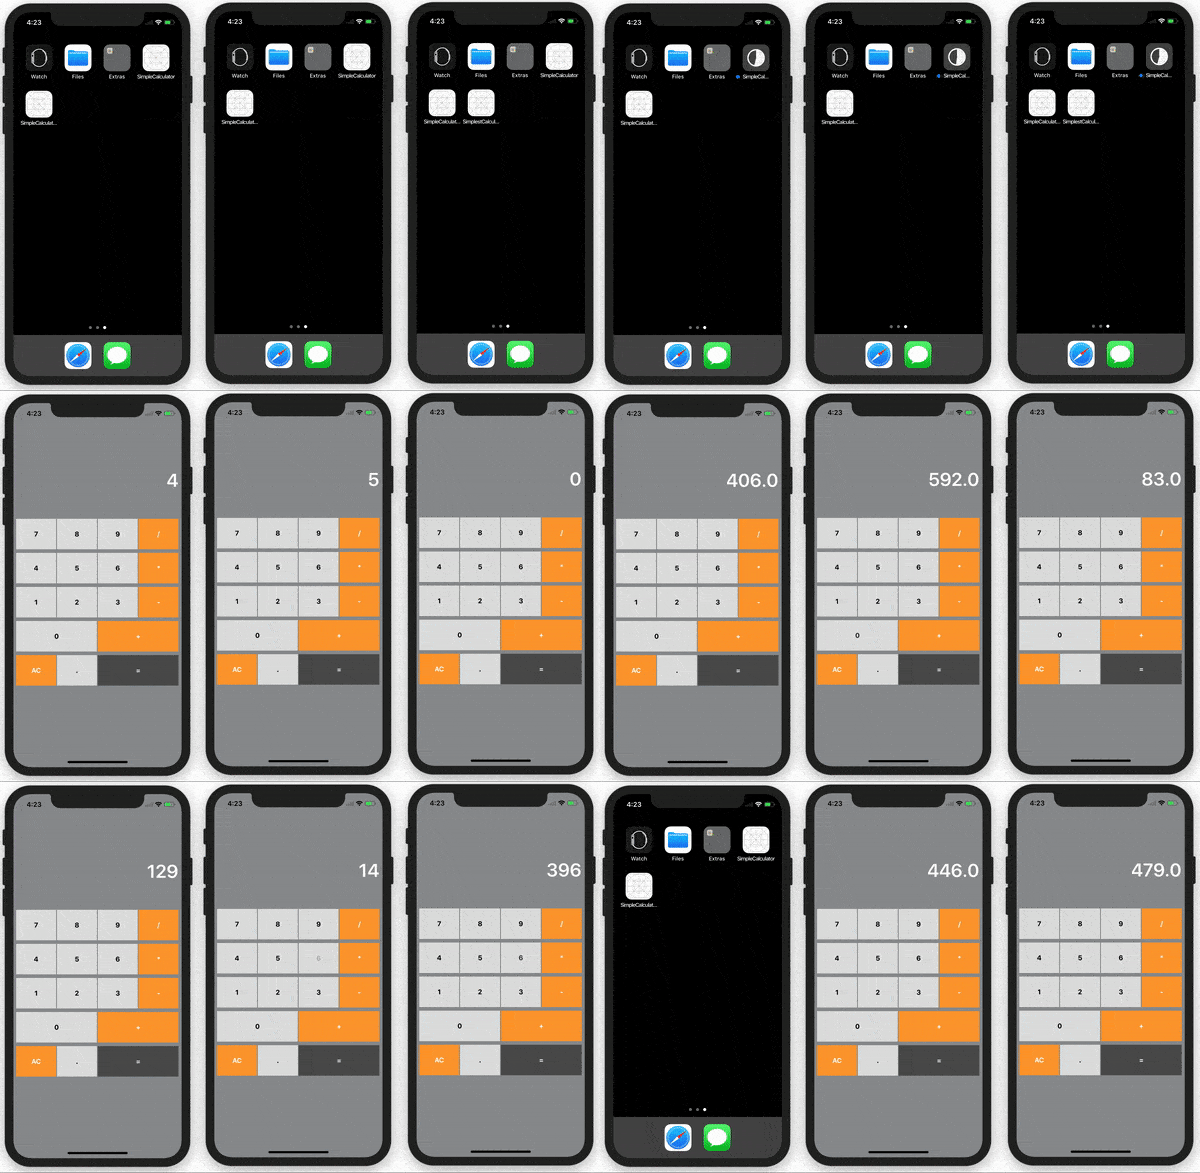
It’s essential to run our tests in parallel to perform more of them in a tighter window, get feedback earlier and release faster. This is especially true for user interface tests which tend to be the most time consuming and flaky group. And Apple has heard our prayers! During the last WWDC the company presented one of the most useful features regarding testing, possibility of running concurrent XCTest sessions on multiple iOS/tvOS devices.
From Xcode 9 and later we are able to run not only the same test on the different devices simultaneously, but also different sets of the tests on different devices. It means that basically Apple introduced test sharding. Wonder what that is?
Say you have two iPhone X devices and 10 tests. Now you can split your test suite into 2 shards (parts) and run 5 tests per each device. In theory it should decrease run time by factor of n, where n is the number of shards. More about this concept can be found in one of my previous posts on Parallel Android Tests.
Parallel tests on Simulators
Let’s start from easier approach of parallel tests - running them on Simulators. The first question we need to ask ourselves is - how many devices we want to run tests on? You’ll be amazed once you know how many concurrent sessions on Simulators were allowed by Apple. According to xcodebuild logs - it’s limitless! Awesome, huh?
The simplest way to run iOS tests on Simulators consists of the following steps:
- Creating additional n UI test schemes
- Splitting existing test suite between created schemes
- Creating additional n iOS Simulators (optional, if you want to run on different device models)
- Running parallel tests on n simulators differentiating them by names/UDIDs
Creating test targets
In Xcode 9 creating UI Test Targets is rather easy. If you already have UI Test Target, all you need to do is to duplicate it n times. If not, check out my XCUITest Essentials post, where I covered the basics of creating UI Test scheme.

Splitting tests
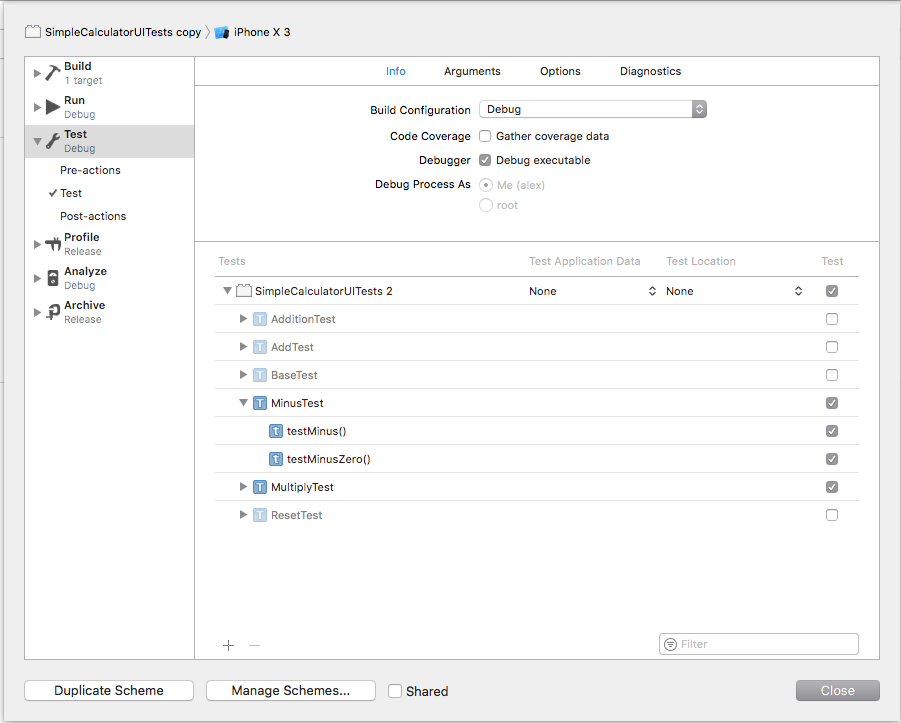
After we created additional schemes we have to split our entire test suite between those. To do that we need to open Scheme Settings by navigating to Product > Scheme > Manage Schemes. Now we have to select created schemes one by one and disable/enable needed tests to shard them between targets.

Cloning Simulators
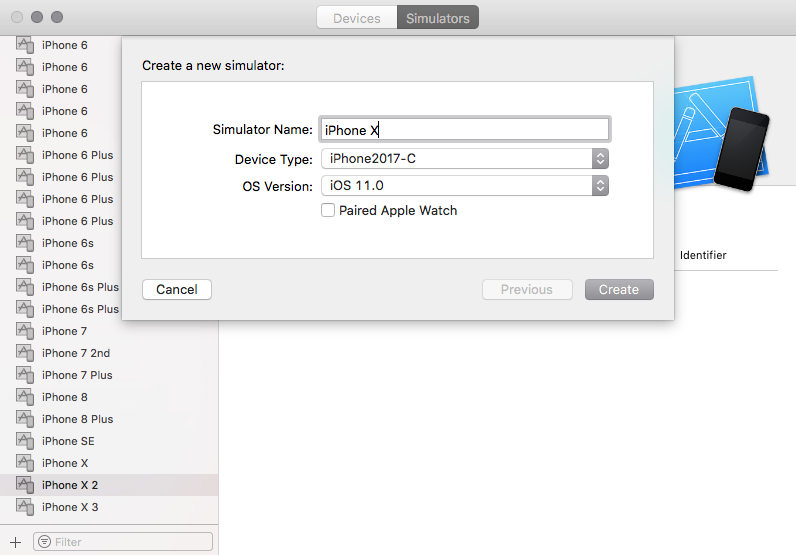
Since we want to run different tests on the same device type in parallel, we need to create additional simulators of the same model and iOS version. For instance, we want to run our tests on 3 devices of type iPhone X (iOS 11.0). This would mean that 2 additional (excluding default one) devices should be created in our system. We could do that in Simulators menu under Window > Devices and Simulators. By pressing + we can set new device’s model and iOS versions along with paired watchOS device.

Parallel Test Run
As I mentioned before there were two options for running iOS/tvOS tests in parallel: same test+different devices and different tests+same device.
Same tests on the different devices
To run same tests on different devices we would need to include multiple destination flags for each device we want to run test scheme on into xcodebuild test command:
xcodebuild \
 -scheme SimpleCalculatorUITests \
 -destination 'platform=iOS Simulator,name=iPhone X,OS=11.0' \
 -destination 'platform=iOS Simulator,name=iPhone 8,OS=11.0' \
 test
In this case our test scheme SimpleCalculatorUITests will be executed on iPhone X and iPhone 8 simultaneously.

Different tests on the same device (test sharding)
That’s where previously created schemes and additional simulators come in handy. To run different test targets on the same device type we would need to invoke xcodebuild for each of them, setting different simulator for run as destination value:
xcodebuild \
 -scheme SimpleCalculatorUITests \
 -destination 'platform=iOS Simulator,name=iPhone X,OS=11.0' \
 test & \
xcodebuild \
 -scheme "SimpleCalculatorUITests copy" \
 -destination 'platform=iOS Simulator,name=iPhone X 2,OS=11.0' \
 test & \
xcodebuild \
 -scheme "SimpleCalculatorUITests copy 2" \
 -destination 'platform=iOS Simulator,name=iPhone X 3,OS=11.0' \
 test &
In this case three different test schemes will be executed on 3 devices of iPhone X (iOS 11.0) type.

Parallel test class run
Similarly to how we executed test targets in parallel, we are able to run test classes (or even methods) in parallel. -only-testing flag will help us in doing that. All we need to do is to specify the relative path of the test class:
xcodebuild \
 -scheme SimpleCalculatorUITests \
 -destination 'platform=iOS Simulator,name=iPhone X,OS=11.0' \
 -only-testing:SimpleCalculatorUITests/MinusTest \
 -only-testing:SimpleCalculatorUITests/ResetTest \
 test & \
xcodebuild \
 -scheme SimpleCalculatorUITests \
 -destination 'platform=iOS Simulator,name=iPhone X 2,OS=11.0' \
 -only-testing:SimpleCalculatorUITests/AdditionTest \
 test & \
xcodebuild \
 -scheme SimpleCalculatorUITests \
 -destination 'platform=iOS Simulator,name=iPhone X 3,OS=11.0' \
 -only-testing:SimpleCalculatorUITests/MultiplyTest \
 test &
In the example above MinusTest and ResetTest classes will be run on iPhone X device, AdditionTest will be executed on
iPhone X 2 and MultiplyTest one on iPhone X 3. And all of that will be done in parallel!
Auto splitting of tests
Previous approach is great, but it’s not perfect. It’s really inconvenient to manually specify which tests to run each time we need to do that, and continuous integration systems are not even smart enough to do something like that. So the next improvement I came across was auto splitting of test classes equally between available simulators:
#!/usr/bin/env bash

devices=("platform=iOS Simulator,name=iPhone X,OS=11.0"
 "platform=iOS Simulator,name=iPhone X 2,OS=11.0"
 "platform=iOS Simulator,name=iPhone X 3,OS=11.0")

test_scheme_name='SimpleCalculatorUITests'
for (( i=0; i<${#devices[@]}; i++ ));
do
  devices[$i]="xcodebuild
   -scheme $test_scheme_name
   -destination '"${devices[$i]}"'"
done

i=0
path_to_test_classes='SimpleCalculatorUITests/PageObject/Tests'
for entry in "$path_to_test_classes"/*Test.swift
do
  if (( i == ${#devices[@]} )); then
    i=0
  fi
  name="${entry##*/}"
  name="${name%.*}"
  devices[$i]=${devices[$i]}"
   -only-testing:$test_scheme_name/$name"
  ((i++))
done

cmd=''
for (( i=0; i<${#devices[@]}; i++ ));
do
  cmd=${cmd}${devices[$i]}" test & "
done

echo ${cmd}
eval ${cmd}
devices is the array which contains names for all simulators we want to run tests on. First, we add xcodebuild string to each of the array elements. Second, we search for all the test class files under the path path_to_test_classes by given pattern (in my case it’s *Test.swift), extracting filename from each found file path string.
Then we iterate through those filenames and split them across the devices we have in devices one by one. In case we reached the end of array, index would be reset and test splitting would continue from the first device in list. In the end we add test command to each array element and join them in one cmd string. And finally, we evaluate string as a shell command.
Note: this script should be wrapped into shell script file and put under the project folder.
Headless test run
In Xcode 9 Apple’s gone even further by allowing running parallel tests in headless mode. Now we don’t have to start simulators beforehand anymore and xcodebuild won’t do that implicitly either. In theory it should decrease execution time and save some system resources, particularly video ones.
Parallel tests on Real Devices
The process of running parallel tests on real iOS/tvOS devices is more or less similar to one on simulators. But instead of specifying platform, name and OS we would need to specify device’s UDID:
xcodebuild \
 -scheme SimpleCalculatorUITests \
 -destination 'id=${UDID_1}' \
 test & \
xcodebuild \
 -scheme "SimpleCalculatorUITests copy" \
 -destination 'id=${UDID_2}' \
 test &
Splitting tests between all Devices
I have good news for you - we can reuse auto splitting script for test execution on real devices. The only thing we’d need to change is devices array creation before executing the script:
#!/usr/bin/env bash

device_type='iPhone'
devicesString=$(system_profiler SPUSBDataType |
 grep -A 11 -w "${device_type}" |
 grep "Serial Number" |
 awk '{ print $3 }')
devices=(${devicesString// / })
for (( i=0; i<${#devices[@]}; i++ ));
do
  devices[$i]="id=${devices[$i]}"
done
At first we will collect all UDIDs of devices matching iPhone into one string type with the help of system_profiler MacOS utility. Then we will split the string into device array. After that we can use previously implemented auto splitting script.
Leveraging this approach we could run our tests on all available (connected) at the moment devices and it should make our test run strategy truly scalable and robust.

Comments